Monday, October 31, 2011

Halloween Cupcakes

Happy Halloween everyone! I don't know where you are all reading from, but the Northeast had some pretty nasty weather this past weekend. Not nasty enough to ruin all the fun, though.

Last Friday, my office had a Halloween luncheon with delicious Mexican food and homemade desserts. In the hopes of finding something festive to bake, I made these cupcakes. They were just chocolate and vanilla flavored in the interest of saving time, but the fun is really in the decorations.


I used vanilla frosting and a few different pastry bag tips to make the mummy and spiderweb cupcakes. Actually, correction--Rona decorated the spiderweb cupcakes. I needed as many hands on deck as possible.


Everyone in the office seemed to love the decorations, so all-in-all a success! Anyone have any other fun cupcake decorating ideas?


~A

Sunday, October 30, 2011

A Gratin Duo: Squash Gratin and Potato-Fennel Gratin

I am a huge fan of gratin.  A lot of melted cheese, with vegetables mixed in, what is not to love?

Since I made two gratins recently, a potato-fennel version and a squash-cottage cheese version, I decided to include both recipes in this one post, kind of like a 2-for-1 special!

I tried the potato-fennel gratin after seeing a recipe in a cookbook by Ina Garten and decided that the combination was so tempting that I had to make it immediately!  I tried the squash gratin about two weeks ago when I had extra cottage cheese and started looking up recipes so that I could finish the cottage cheese before it went bad.  I think that from these two dishes, you can get a good idea of how very different but equally delicious a gratin can be, no matter your preferences.

On a side note, if anyone is looking for recipes for Thanksgiving dinner or any other holiday dinners that are coming up, I think that these dishes are great!  I have more ideas for party appetizer recipes and Thanksgiving recipes and I hope to feature them on the blog soon!


Squash and Cottage Cheese Gratin
Adapted from nytimes.com
Makes 6 servings

1 1/2 cups small-curd low-fat or nonfat cottage cheese
1 pound squash (I used yellow squash and zucchini)
Salt to taste
1 medium onion, finely chopped
1 to 2 garlic cloves, minced 
1 tablespoon extra virgin olive oil
3 eggs
1/4 cup chopped flat-leaf parsley
1/4 cup grated Gruyère cheese
Freshly ground pepper

1. Place the cottage cheese in a strainer set over a bowl, and drain for 20 minutes while you prepare the remaining ingredients. Cut the squash into rounds that are 1/4 of an inch thick and place in a large bowl or colander. Sprinkle with salt and toss. Allow to sit for 20 minutes. Squeeze out excess water, then squeeze in a towel to dry.

2. Preheat the oven to 350 degrees. Oil a 2-quart gratin or baking dish. Heat the olive oil over medium heat in a medium frying pan, and add the onion. Cook, stirring, until tender, about five minutes. Add the garlic, and stir for another 30 seconds to a minute until fragrant. Remove from the heat.

3. Beat the eggs in a large bowl. Stir in the cottage cheese, parsley, Gruyère, onion and garlic, and squash. Combine well. Season to taste with salt and pepper, and scrape into the oiled baking dish. Bake 45 minutes or until set and lightly browned. Remove from the heat, and allow to sit for five to ten minutes before serving. You can also serve this warm or at room temperature.

 Potato-Fennel Gratin
adapted from the barefoot contessa cookbook
Makes 8-10 servings

1 large fennel bulb
1 yellow onion, chopped
2 tablespoons olive oil
4-5 large russet potatoes
2 cups heavy cream
2 1/2 cups grated Gruyère cheese
1 teaspoon kosher salt
1/2 teaspoon ground black pepper

1.  Preheat the oven to 350 degrees.  Butter a 10 cup gratin dish or a baking dish.

2.  Remove the stalks of the fennel and cut the bulbs in half.  Slice the fennel into thin slices to get about 4 cups of fennel.  Saute the fennel and onions in the olive oil on low heat for about 10 minutes, until tender.

3.  Peel the potatoes and slice them thinly by hand or with a mandoline.

4.  In a large bowl, combine the sliced potatoes, the fennel and onion, the heavy cream, 2 cups of Gruyère chees, salt, pepper, and mix well.

5.  Pour the potatoes into the baking dish and smooth until the potatoes for an even layer.  Sprinkle the remaining Gruyère cheese on top.

6.  Bake uncovered for 1 1/2 hours, until the potatoes are soft and the top is brown and bubbly.  Allow it to cool for 10 minutes and serve.

Enjoy!

~Rona


Wednesday, October 26, 2011

Turkish Croquettes

I have to admit, a lot of what I cook never makes it onto this blog.  There are a number of reasons for this.  Sometimes I take pictures that seem good but when I look at them on my computer the final product doesn't look as good as it tasted.  Other times, I start cooking late, cannot get good light for the pictures, and by the next morning there is nothing left to take a picture of.  And there are the rare occasions when the food just tastes bad.  Luckily that doesn't happen too often!  Now, for this dish I wasn't completely satisfied with my pictures because I made these at night but this is too good of a recipe not to share!

I made these croquettes using my bulgur cookbook.  On a side note-I have never come in contact with a croquette before but I do not know how to describe this dish so I am following the example set by my cookbook.  In Turkey, there is a popular dish that consists of a bulgur shell filled with ground meat.  I had eaten it during my trip in the summer as well as in restaurants in New York City and I had thought that it would be difficult to make.  When I saw this similar recipe, only with beans, I was excited to try it out and I am really happy that I did!


It definitely took time to form the proper shape of the croquettes and some practice.  I felt that the bulgur shell to bean ratio was difficult to master.  I made some where the shell was too thick and then there were not enough filling.  I think that overall the shell needs to be spread to a thickness of about 1/4 of an inch.  When I made them, I ran out of bulgur and had leftover filling so it definitely will take some time to get the proportions right.

Also when working with the bulgur, it helped to keep my hands wet.  Otherwise, it was difficult to work with.

Overall, I have to say that this was a fun dish to prepare and I definitely want to make it again.  I also think that it would be fun to serve these at a dinner party, they appear to be more labor intensive than they really are, and you can impress your guests!


Croquettes
makes about 10-15, depending on the thickness of the shell

Shell

2 cups extra fine bulgur
1 medium yellow onion, grated or chopped in a food processor
1 egg
2 tablespoons tomato paste
1/2 cup flour
1 teaspoon salt
6 cups water

Filling
1 can red kidney beans
1 medium yellow onion, finely chopped
1 tablespoon tomato paste
1 teaspoon salt
1 teaspoon black pepper
1 teaspoon chili pepper
1 tablespoon olive oil

For the filling:

1.  In a large pan, cook the onion in olive oil over low heat until soft.

2.  Stir in the tomato paste, followed by the salt, pepper, chili pepper.  Remove from heat and set aside.

For the shell:

1. In a large bowl combine the bulgur, onion, egg, tomato paste, four, and salt.  Wet hands and knead the bulgur until it softens into a consistency of dough.

2.  Spread about a 1/4 cup of bulgur on a flat surface.  Use your hands to flatten it to a consistent thickness (about 1/4 of an inch thick).

3.  Place about 1-1 1/2 spoons of the bean mixture in the middle of the bulgur shell (see my first picture).

4.  Use a knife to separate the bulgur shell from the flat surface.  Put the shell, with the filling on top, in the palm of your hand and fold the shell together until it closes.  Smooth the edges together by rolling the croquette in your hand.  Extra bulgur may need to be added to fully close the croquette.

5.  Place the formed croquettes in a large pot.  Cover them with water and cook on medium heat for about 15 minutes until the croquettes rise to the surface.

6.  Serve warm with lemon slices.

Enjoy!

~Rona

Sunday, October 23, 2011

Bulgur Soup with Lentils


Between the chilly, fall weather that has finally reached New York and running around to classes and working, I feel like I am constantly fighting off the first signs of a cold... you know, that hint of a sore throat and fatigue that you feel when you start to get a cold.  Now it may not help that I prefer to under-dress in this type of weather than over-dress.  Personally, I hate stepping into a hot subway station and needing to peel off layer after layer.  Instead, I have been feeding myself with a lot of warm tea and different types of soup!

I have started going through my new bulgur cookbook recently and I have been getting some recipe inspirations from there.  There are many bulgur soup ideas in that book but this one stuck out at me.  I like the combination of bulgur, lentil, and beef, it makes for a quick meal without needing to prepare much else.  I tend to use additional spices than the original recipe calls for and I added some more flavor to the soup with paprika and extra red pepper flakes.


1/2 cup brown lentils
1/2 cup of coarse bulgur
1 medium yellow onion, finely chopped
1/2 pound ground beef
1 tablespoon tomato paste
1 teaspoon red pepper flakes
1 teaspoon paprika
Salt and pepper, to taste

1. In a large pot boil the lentil in 2 cups of water for about 15 minutes, until tender.

2.  In the mean time, in a frying pan cook onion in olive oil until soft, then add the beef and cook until it browns.

3.  Pour the onions and meat into the pot.  Add tomato paste, pepper flakes, paprika, salt and pepper, bulgur, and 6 cups of water.  Cook until the bulgur is soft, about 20-25 minutes, and serve.

Enjoy!

~Rona

Friday, October 21, 2011

Samsa: Uzbek meat pastries


Samsa is a food that comes from Uzbekistan.  It is a dough pastry filled with meat and is commonly prepared with ground lamb.  In the US, at least on the East Coast, ground lamb can be hard to find and when it is found, it is usually expensive.  I instead use ground beef or possibly a mixture of ground beef and ground lamb.  It is flavored with cumin and I like to use a lot of it, both as ground cumin and cumin seeds. 

These little guys are so delicious.  I love to take one or two with me for lunch with some vegetables.  I just like to make sure that there microwave around to heat them up, they are better warm.  Yes, I am using puff pastry again.  I find it to be so versatile and really easy to use for different ethnic dishes, as well as appetizers, main dishes, and desserts.  And it is easy to work with!


Ingredients
1/2 pound of ground meat (Use ground beef, ground lamb, or a mixture)
1 medium sized yellow onion, chopped
2 cloves of garlic, chopped
1 tablespoon ground cumin
1/2 teaspoon cumin seeds
1 teaspoon coriander
1/2 teaspoon salt
1 1/3 sheets of Pepperridge Farm puff pastry dough
1 egg yolk
1 tablespoon olive oil

1.  In a medium frying pan, cook the onion and garlic with 1 tablespoon of olive oil on low heat until the onion is soft.

2.  Add the ground meat to the frying pan, and cook the meat until browned.  It is okay if the meat is still a little red since it will also be baked.   To the meat, add the coriander, salt, ground cumin, and rub the cumin seeds between your fingers.

3.  Let the meat cool for about 20 minutes before forming the pastry, otherwise the puff pastry dough will not hold.  Preheat the oven to 375 degrees.

To form the pastries:

4.  Line a baking sheet with parchment paper or aluminum foil.  Separate one sheet of the puff pastry into 6 equally sized pieces.  The other 1/3 sheet of dough should be cut in half.

5.  Divide the meat into 8 portions.  Put one portion of the meat onto half of the piece of puff pastry.

6.  Fold the dough in half and push the ends of the dough together to close the pastry.

7.   Mix the egg yolk with a few drops of water in a bowl.  Use a pastry brush to coat the tops of the pastry with egg.

8.  Cook for about 25-30 minutes until the dough is brown. Let cool and then serve warm.

Enjoy!

~Rona

Tuesday, October 18, 2011

Apple Muesli Muffins

Recently I have been craving all fall related foods so apple anything fits the bill.  I made these muffins a few days ago and I am happy to report that no butter and very little sugar and oil were used in the production of these muffins.  I would say that they are a guilt free way to enjoy a fall treat.


I was worried about the batter for these muffins.  The apple juice made the batter really wet, more than I would expect and I was worried that the muffins would not taste good.  But in the end, my fears were not realized.  The final result was a very soft and moist muffin, the kind that breaks apart while you are eating it and they are absolutely delicious!


Apple Muesli Muffins
Makes 12-15 muffins

Ingredients
1 egg, lightly beaten
1 tablespoon vegetable oil
1/2 cup unsweetened applesauce
1 cup apple juice
1/2 cup chopped, pitted dates
1/2 cup untoasted muesli
1 cup all-purpose flour
1 teaspoon cinnamon
1/8 cup sugar
1 teaspoon baking powder
1 teaspoon baking soda

Topping:
2 tablespoons raw or white sugar
1.2 teaspoon cinnamon

1. Preheat over to 375 degrees.  Lightly a muffin pan with paper liners.

2.  In a medium sized bowl, place egg, oil, sugar, applesauce, apple juice, dates, and muesli and stir to combine.

3.  Sift flour, cinnamon, baking powder, and baking soda in a large mixing bowl and make a well in the center.

4. Pour the apple mixture into the well and stir until just combined.

5.  Spoon the mixture into the paper liners.

6.  Sprinkle each muffin with the topping.  Bake for 15-20 minutes until the center is no longer wet.  Cool on a wire rack for 5-10 minutes and serve warm.

Enjoy!
~Rona

Sunday, October 16, 2011

Chicken Salad Veronique

A big priority for me when deciding what dishes to make is that it a) they don't take too much time and b) there will be left overs for me to bring to work. Tomorrow will begin my 4th week of work, and as I've found, time is really of the essence. So I found this great chicken salad recipe in Barefoot Contessa's cookbook At Home. It was easy to make, and I have plenty left over for lunch tomorrow! Thank you Ina Garten.


Ingredients (serves 4)
2 whole chicken breasts, with bone & skin
Olive oil
Kosher salt and freshly ground black pepper
1/4 cup mayonnaise, or to taste
1 1/2 chopped tarragon leaves
1 cup diced celery
1 cup green grapes, cut in half

Preparation 
1) Preheat the oven to 350 degrees.

2) While the oven preheats, place the chicken breasts skin side up on a sheet pan and rub them with olive oil. Then salt and pepper. Make sure to get under the skin, as well.

3) Roast the chicken for 35-40 minutes. Set aside to cool.

4) When chicken is cool, cut the chicken into 3/4 inch cubes, and place into a large serving bowl. Add the mayo, tarragon leaves, celery, grapes, salt, pepper, and toss well.

5) Cool in the fridge then serve.

I think I'll have my chicken salad as a sandwich tomorrow!


~Alyssa

Friday, October 14, 2011

Taboule Salad (Kısır)


I have another bulgur recipe.  This one I learned when I was visiting Turkey over the summer.  It is a recipe for a salad that is common to the Middle East.  It is know as taboule or kısır in Turkey.  This is a common appetizer that you can find all over Turkey.  I took me some time to get used to the taste but once I did I found that I really enjoyed this salad.  There are a lot of varieties of this salad but some key ingredients are the tomato paste to make the salad red and freshly, chopped parsley.

It is made with extra fine bulgur and there is no cooking required to make it.  In Turkey, it is eaten as a starter dish.  You season it with fresh lemon juice and spoon the salad into lettuce leaves and eat the lettuce.  Since it is not cooked, it seems like an easy dish to make and it is!  The only challenge is that you need the spend time squeezing the bulgur in your hands until it gets soft enough to eat.  Once you get used to making this recipe, you will love it and make it again and again!   


Ingredients

2 cups, extra fine bulgur
2 cups of hot water
15-oz can of tomato paste
Small yellow onion, very finely chopped
4 peeled garlic cloves, pressed
1/4 cup finely chopped walnuts
1/4 cup freshly chopped parsley
1 teaspoon cumin
1 teaspoon chili powder
1/4 cup olive oil

Lemons and Lettuce to serve

1. Combine the bulgur and the water in a large bowl.  Let sit for 5 minutes for the bulgur to soften.

2.  Begin squeezing the bulgur in your hands and try the bulgur to make sure it is soft enough to eat.  If not slowly add more water and squeeze the bulgur until it is soft.

3.  When the bulgur is soft, add the tomato paste and combine with the bulgur .

4.  Add the onion, garlic, walnuts, cumin, chili powder, parsley, olive oil and mix to combine.

5.  Serve with lettuce and fresh lemons.

Enjoy!
~Rona

Sunday, October 9, 2011

Bulgur Tomato Soup


As the weather has gotten colder over the past week, I have managed to catch a small cold. It isn't bothering me too much but I have been craving soup to keep me warm.

To satisfy my craving I made a quick tomato and bulgur soup the other day. It took only 10 minutes of prep time and 15 minutes to cook. Perfect to eat with a sandwich for a light dinner.

I had never cooked with bulgur before this summer but it is commonly used in Turkish cuisine and also is readily available in American stores so I have been slowly working it into my cooking repertoire. I even have an entire cookbook devoted to bulgur recipes but I have yet to try out recipes from it. Another thing on my to-do list!

Adapted from Whole Foods
Makes 6 servings

Ingredients

4 cups vegetable broth
1 cup bulgur
1 small yellow onion, finely chopped
1 garlic clove finely chopped
1 teaspoon coriander
1/2 teaspoon of cinnamon
2 tablespoons of freshly chopper
1 tablespoon lemon juice
2 tablespoons feta cheese crumbles
Olive oil

1. In a medium sized saucepan  heat 1 tablespoon of olive oil over medium heat.  Cook the onion and the garlic until tender.

2. Add the vegetable broth, the bulgur, tomato juice, coriander, and cinnamon.  Cook over low heat for 12-15 minutes, until the bulgur is tender.

3.  Add the lemon juice, feta cheese, and the parsley and serve.

Enjoy!

~Rona

Saturday, October 8, 2011

Chocolate Pastries


The idea for these chocolate filled pastries came to me in the middle of a cooking marathon.  Sometimes when I start off with a plan to cook one or two different items, I instead get so many ideas and end up spending several hours cooking many different dishes.  I was craving something sweet to go with the two cups of tea that I have been drinking most days but I did not have the time to bake anything from scratch.   I decided to use some of the puff pastry that I had in my freezer, combine chocolate, and voilà these were born.  I recommend eating them warm, while the chocolate is still melted or to reheat them if they have already cooled off.  I spent at most 10 minutes making these-probably the least amount of time that I have ever spent making a baked dessert.


Ingredients
Puff Pastry, thawed and soft
Nutella
Chocolate Chips or any chocolate that you have on hand, chopped into small pieces.

1. Line a baking sheet with parchment paper and preheat the oven to 350 degrees.

2. Cut the puff pastry into squares.

3. Put a teaspoon of nutella across the diagonal.  Sprinkle chocolate chips or other chocolate pieces over the nutella.

4.  Wrap the puff pastry dough around the diagonal and place on a baking pan.

5.  Bake for 20-25 minutes or until the pastry turns a golden brown.

Enjoy!
-Rona

Tuesday, October 4, 2011

How To Make Turkish Coffee

I tend to drink a cup of coffee most days, regardless of how much I slept. Sometimes I drink coffee to cool me off, other times to warm me up, and other times for a caffeine boost. Recently, I have been preferring Turkish coffee to brewed coffee. It is easy to make, you just need to have the proper items: a bag of Turkish coffee and a small pot called a cezve.  These items may be found in an ethnic market or online.

The only trick to making this type of coffee is to make sure that there is foam on top.  To make sure that there is foam, you cannot let the coffee boil.  Since coffee heats so quickly, I make sure to stand and watch it for the entire time that it is on the stove top.  Of course, I have let it boil and ruined the foam, and I have walked away from the coffee and it has spilled over the top of the pot and on to the stove.   So it just takes some patience and a little bit of practice to get it right.

I also am using small cups that my boyfriend brought from Turkey to drink the coffee.  One serving of Turkish coffee is about the size of a single shot of espresso.  Sometimes I serve it in small tea cups, only half filled which is an alternative to the small cups in the pictures.


Ingredients:

Turkish coffee
Sugar
Water

1.  For every serving of coffee that you are making combine one heaping teaspoon of coffee and 1/2 teaspoon of sugar.  (more if you like sweeter coffee) in the coffee pot.

2.  Add water by filling the coffee cup and pouring it into the pot.

3.  Heat the coffee on low heat, making sure that it does not start to boil.

4.  Pour about half of the coffee into the mugs and then reheat the rest of the coffee for 30-45 seconds, again making sure that it does not boil.

5.  Pour the remainder of the coffee into the mug and drink it with a small dessert or Turkish delight.

Enjoy!

~Rona

Monday, October 3, 2011

Light and simple coleslaw salad

I love having a small selection of salads to eat with each meal. Some recipes I make are family recipes, others are inspired from restaurants, or magazine pictures.

One of my favorite salads to make is a simple sliced carrot and sliced white cabbage salad. My dad has been making one with olive oil, lemon juice, and sugar over the years. I have also tried to branch out by using fruit like pineapple or cranberries, adding purple cabbage and other attempts at being creative, all starting with the sliced cabbage.

I have also wanted to create a good coleslaw salad, one that isn't too heavy on mayo like many restaurant varieties. I am pleased that I finally created a simple coleslaw, using some mayo, red wine vinegar, and a little sugar. It is a perfect combination of sweet and tangy, but not drenched in mayo. I already made this salad three times over the past two weeks...always a good sign :)


Ingredients
Makes 8-10 portions

Small head of white cabbage, with the outer leaves removed, rinsed and shredded
3-4 carrots, peeled and shredded
1/3 cup mayo, more to taste
3 tablespoons red wine vinegar, more to taste
6 tablespoons sugar, more to taste

1. Combine the carrots, cabbage, sugar, red wine vinegar, and mayo in a large bowl an mix together. Add more of each ingredient to taste.

Note: you will never use the same amount of ingredients each time since the cabbage will always be different sizes.  I always add the ingredients, taste the salad, and then add more until I am satisfied.

2.  Let the salad sit in the fridge for at least 2 hours before serving.  This allows the cabbage to soak up the liquid and to get a little bit softer.

Enjoy!

~Rona

Saturday, October 1, 2011

Apple Cider Doughnuts

Last year, Boston, apple picking.  Alyssa and I decided to go apply picking on a beautiful, fall day.  We arrived at the orchard ready to eat freshly made apple cider doughnuts only to find that they were sold out, along with most of their other pastries.  We instead bought a pumpkin pie which Alyssa ended up eating by herself over the next week.  Yes, that is a true story.

This year, New Jersey, my uncle's house.  My uncle had gone apple picking in New Jersey and posted pictures saying that they ate apple cider doughnuts there.  Since, Alyssa and I were going to his house soon after, we had hoped to find some doughnuts left for us... But there weren't any there.

As you may be able to tell, Alyssa and I had been unable to satisfy our growing apple cider doughnut craving.  Since we had no plans to go apple picking any time soon, I decided to do the next best thing: make my own.  I hosted a dinner party last week and decided to make the doughnuts for the party.  I was a little bit nervous because I had never made doughnuts before and if they didn't taste good, I did not have a back up plan for dessert.  I found a recipe online and after reading through it and the debate over frying with oil versus shortening, I decided to use shortening, a product that I had never worked with before.

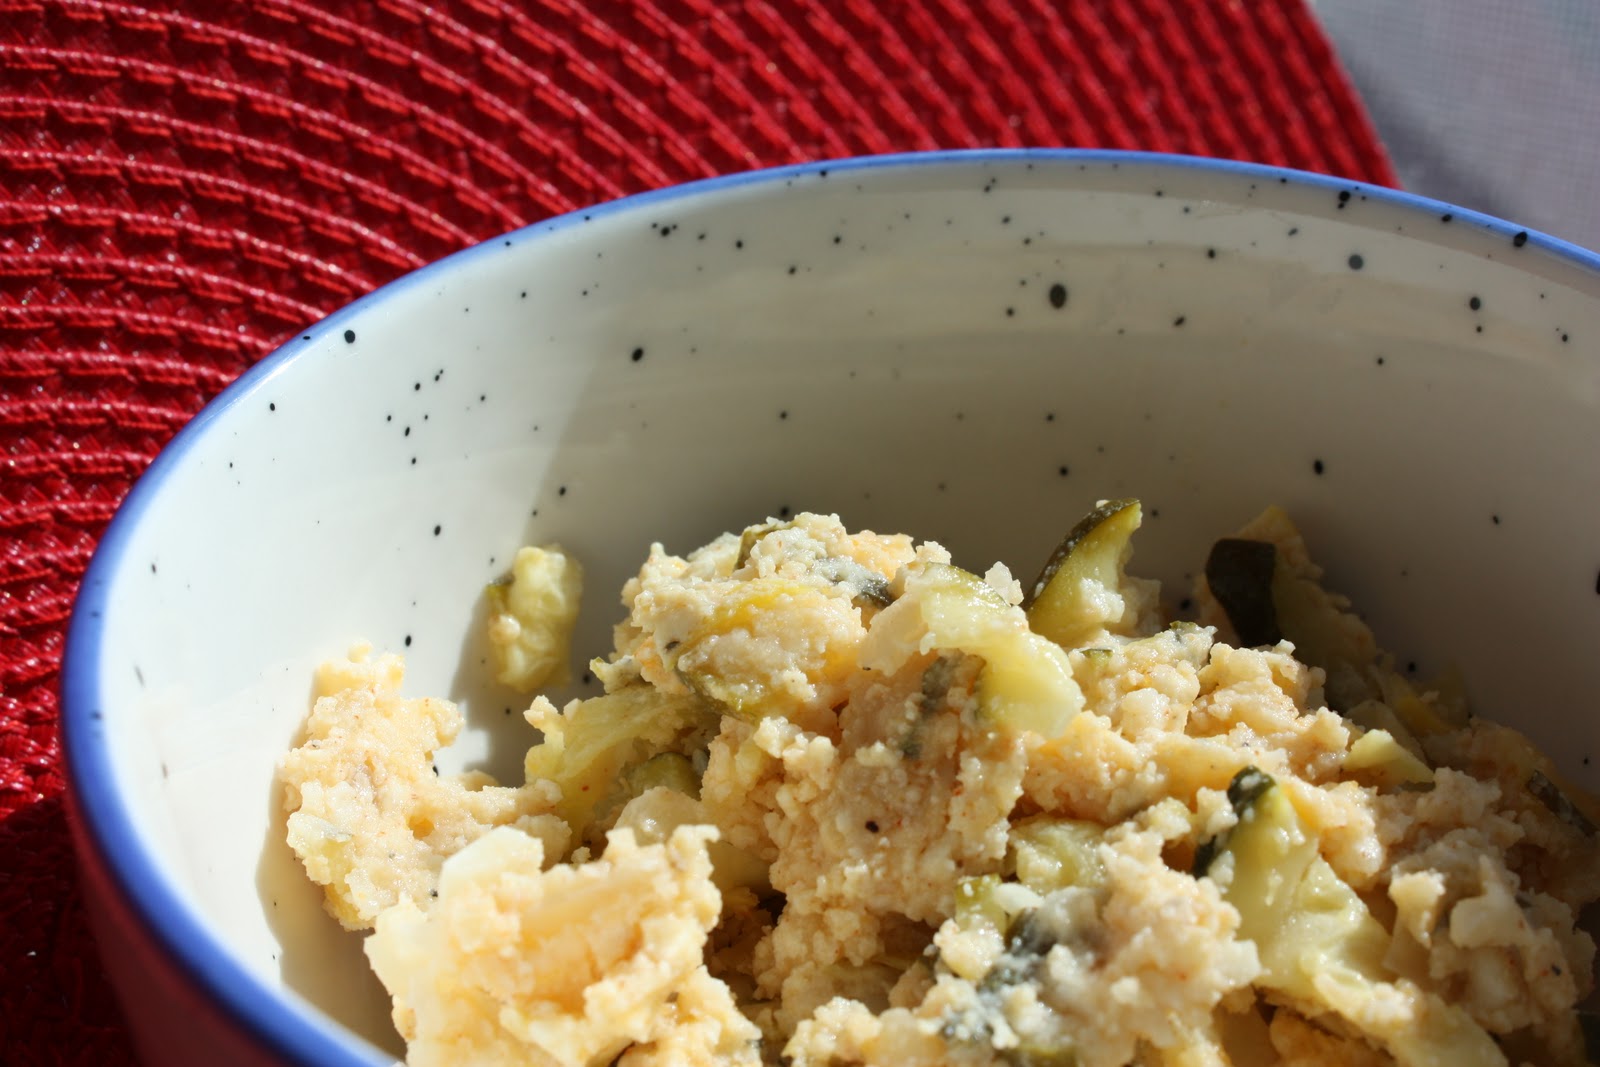
Although I overheated the shortening at first and burnt a few of the smaller holes, once I got used to it, the doughnuts were really easy and quick to cook.  Just a few seconds on each side until the doughnuts became golden brown, pour a mixture of confectioner's sugar and cider on top and that is all it takes.  The doughnuts were really good considering that I am a novice doughnut maker.  Soft and chewy on the inside, not greasy at all (a benefit of frying in shortening versus oil), and just fun!  I am really happy that I took a chance to make these, they were less work than I expected.

But is my apple cider doughnut cravings satisfied?

Hmmm, not sure, I may have to eat some more before I can decide.


Apple Cider Doughnuts
Adapted from Smitten Kitchen

Makes about 15-18 doughnuts and 15-18 doughnut hole, depending on the size of the doughnut

1 cup apple cider
3 1/2 cups flour, plus additional for the work surface
2 teaspoons baking powder
1 teaspoon baking soda
1/2 teaspoon ground cinnamon
1/2 teaspoon salt
1/8 teaspoon ground nutmeg
4 tablespoons (1/2 stick or 2 ounces) butter, at room temperature
1 cup granulated sugar
2 large eggs
1/2 cup buttermilk
Shortening for frying

Toppings (optional)
Glaze 1 cup confectioners’ sugar and 2 tablespoons apple cider whisked together
Cinnamon sugar 1 cup granulated sugar and 1 1/2 tablespoons cinnamon mixed together

1. In a saucepan over medium or medium-low heat, reduce the apple cider to about 1/4 cup, 20 to 30 minutes. Set aside to cool.

2. In a bowl, combine the flour, baking powder and soda, cinnamon, salt and nutmeg. Set aside.

3. Using an electric mixer, beat the butter and granulated sugar until the mixture is smooth. Add the eggs, one at a time, and continue to beat until the eggs are completely incorporated. Add the reduced apple cider and the buttermilk and mix with a spatula just until combined. Add the flour mixture and continue to mix until the dough comes together.

4. Line two baking sheets with parchment or wax paper and sprinkle them generously with flour. Turn the dough onto one of the sheets and sprinkle the top with flour so that it is easy to work with and not sticking to your hands. Flatten the dough until it is about 1/2 inch thick.

5. Transfer the dough to the freezer until it is slightly hardened, about 20 minutes.

6. Using a round cookie cutter, cut the outer shape.  Then use a smaller cutter to cut out the hole. (I did not have the right size cutters so I used a glass container to get the shape).

7. Place the cut doughnuts and doughnut holes onto the other sheet pan. Refrigerate the doughnuts for 20-30 minutes, or until ready to use.

8.  Add enough shortening to a frying pan to measure a depth of about 3 inches. If you have a candy thermometer, you want to wait until the oil reaches, 350 degrees.  I do not have a thermometer so I waited until the oil started bubbling.  I added the holes first and they burnt, so I added more shortening to cool down the temperature.

9. Place each doughnut into the pan and fry until golden brown and then turn over and fry the other side, for about 60 seconds on each side.  Place the doughnuts on a paper towel to drain.

10.  Sprinkle the doughnuts with your choice of topping (I made the apple cider glaze) and serve warm.

The doughnuts keep for a keep.  Just warm up with add glaze on top!

 Enjoy!
~Rona